There are many great features that Windows has deemed important enough to act by default. But that doesn’t mean that all users are the same and will be happy that the decision is made for us. Just like in life, we are happy to customize our machines to our own needs and preferences. In the case of this article, we will discover how to enable AutoPlay in Windows 10. Also, if you are keen on making your device perform at its highest capacity, make sure to download Auslogics BoostSpeed that will eliminate the unnecessary processes and free a lot of RAM that you will appreciate later when you need it for something worthwhile.

AutoPlay makes possible the automatic run of any program or video that is inserted on a CD or DVD into your computer. In some cases, it’s extremely helpful, in others – not so much. If you want to control the time when your DVD plays, you will find the necessary guidelines for that here. Also, remember that Window 8 and 8.1 are equipped with the same AutoPlay feature as Windows 10, so whenever you start with a CD or DVD, or even a USB, you’ll get the popup window urging you to play the contents. Below you will find a guide on how to proceed using Windows 10.
Pro Tip: It is possible to fix many PC issues by using the PC Repair tool. PC Repair is easy to use and reliable Windows optimization software developed to fix hundreds of system issues.
Special offer. About Outbyte, uninstall instructions, EULA, Privacy Policy.
How do I manage AutoPlay in Windows 10?
- Step 1. For Windows 10, the first two steps are combined in one pathway: Start Menu > Settings > PC and Devices.
- Step 2. Once you are in the Devices settings, navigate to AutoPlay.
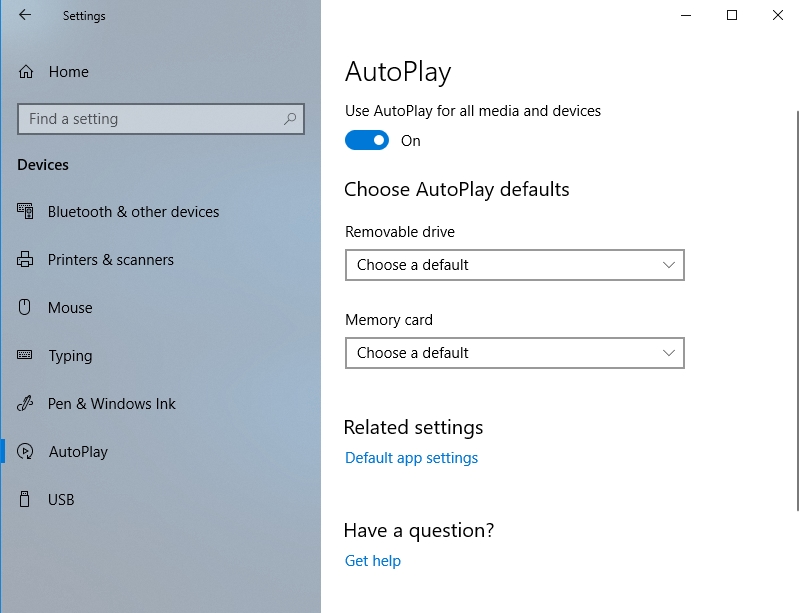
- Step 3. You will be able to change the settings as you please here. If you want to stop the notifications, turn them off.
- Step 4. The Device settings menu also has a list of all devices that are connected to your system – for example, your memory card, a music player or your smartphone.
- Step 5. You can pick and choose each device and customize the settings accordingly. For example, if you want to disable AutoPlay for your USB drive, then you can choose the best action for you from the drop-down menu:
- Sync digital media files to this device
- Open device to view files
- Import photos and videos
- Take no action
- Ask me every time
It’s important to understand that your AutoPlay is enabled by default, which means that if you had to look for ways to enable it, then one of these things most likely happened:
- Your computer was infected by malware, and it has disabled some of the functions.
- Someone already disabled AutoPlay, and you are not the only one using your computer.
Hopefully, of course, you are aware how this came about and your computer is in safe hands, but for future reference, there is a way to disable AutoPlay through your Registry, but we do not recommend it because without special training, you can do more harm than good.