Data and files are stored on our computers in a rather chaotic manner. We can collect text files and images into folders, give them appropriate names, but unfortunately the search in Windows is incoherent and ineffective: if you don’t know where the file is stored (it’s exact location or the file name), you risk never finding it. This article is dedicated to an easy fix for this issue – adding tags to files. We hope it will help you to learn how to optimize files in Windows 10.
First of all, let’s figure out how the Windows File search works and what its limitations are
- Unfortunately, the search for files in Windows is very generalized. This means that depending on what item you are looking for, you might either get a lot of results or no results at all. So, it’s advisable to always give important files unique names and specify the date of their creation.
- Windows search is very, very slow. You might end up with better results if you try to look for the file manually than to use Windows search. This is especially true if you have disabled the indexing of the files and folders.
- Probably the worst thing about Windows search is that you will never find the file you are looking for if you don’t know its exact name. To illustrate, consider the amount of photographs you have stored on your computer and the fact that each of them has a number in its name. Will you be able to know which one you need: img129344 or img009256?
Next, to relate yourself to the task of tagging all of your important files, you need to understand why you should do it. For example, if you have a series of photos or text files pertaining to the same event that you are attending or planning – and they are all scattered in different folders, tag them and the search will be easier. If you are designing something and all your fonts, images and palettes are in different folders on different drives, try tagging them with the same project name to have them handy every time you need to tweak the design or reference an old design in a new project.
Benjamin Franklin used to say that “for every minute spent in organizing, an hour is earned”. And we agree. If you invest your time into adding tags to the files that you’ve collected, the search process will be significantly easier and faster in the future.
Pro Tip: It is possible to fix many PC issues by using the PC Repair tool. PC Repair is easy to use and reliable Windows optimization software developed to fix hundreds of system issues.
Special offer. About Outbyte, uninstall instructions, EULA, Privacy Policy.
Follow this guide to learn how to tag files in Windows 10
- Step 1. To assign a tag, right-click a file and open the properties window.
- Step 2. In the ‘Details’ tab, you will see a space marked ‘tags’. Write the names of the tags that are relevant to this file in the text box. To add more than one tag (advisable), separate them all with a semicolon. You can also add ratings, comments, and subjects, but these will not be of consequence for the search, so you might want to skip this part.
- Step 3. If you choose to add the same tag to some other file, you will get a suggestion with the tags that were already created. Easy.
- Step 4. Although it’s impossible to tag each and every file that you have on your computer, it is still advisable to tag all the essential ones or the ones that hold some significant importance to your projects.This sequence is provided so that you know what to do with existing files that you use often and that you need tags for. But how do you proceed with new files?For example, what about those files that you know you will need in the future? Luckily, some applications like Microsoft Office allow you to add tags to files at the same time as you save them. By following these guidelines, you will learn how to kill two birds with one stone and save some precious time.
- Step 1. When you are saving a document, before finalizing this task, click “More options”.
- Step 2. In the full Save As dialog box, you will find the text ‘tags’ box (it can be concealed from the drop-down menu).
- Step 3. Click the box and type whatever tags you like, separate numerous ones with a semicolon.
- Step 4. Save the file. Your tags are now added and you can use them in Windows search.
So, now you’ve added the tags to your files and you want to find one particular file by using this tag?
How would you go about it?
Hopefully, you will remember the tag that you have added to your files, so now search for those files that were tagged. To succeed, all you have to do is type the tag name in the Windows search box and you will get all the files that share this tag. To open the file, you just need to click the link and you will be sent right to the file that you were looking for.
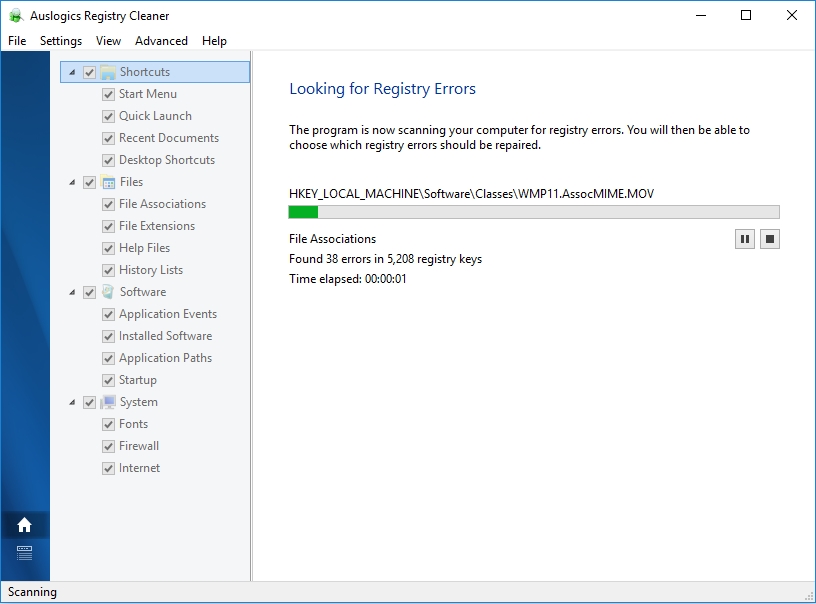
And while you are doing your inventory and organizing your workflow in a better way, you might as well use Auslogics Registry Cleaner. This free tool will ensure the health of your system by cleaning, repairing and optimizing your Windows Registry.