“The secret of success is to do the common thing uncommonly well.”
— John D. Rockefeller Jr.
Basic Input/Output System, which is also known as the System BIOS, ROM BIOS or PC BIOS, is non-volatile firmware used to perform hardware initialization during the booting process (power-on startup) and to provide runtime services for operating systems and programs.
Pro Tip: It is possible to fix many PC issues by using the PC Repair tool. PC Repair is easy to use and reliable Windows optimization software developed to fix hundreds of system issues.
Special offer. About Outbyte, uninstall instructions, EULA, Privacy Policy.
Turning off BIOS memory options is different for each computer. So, your computer may not have the same configuration as other computers, and you may not be able to disable BIOS memory options on your PC. Note that disabling these options will not affect the stability of your computer. These options are put in place to make sure that your PC is operating normally. Actually, it has been recorded that your machine will boot up faster when this option is disabled.
In this article, we will show you how to disable bios caching and shadowing (Windows 7):
Restart your computer:
- Click on the Start on Home button.
- Select the arrow beside the Shutdown button to expand it.
- Select Restart from the available options.
- If your computer is locked, click on the power button and select Restart.
- Switch on your computer if it is off by pressing the power on button.
- Press your computer’s setup key when you see its first startup screen. It may be different for various computers. Most often it is the Del or F2 key. You will see this message: “Press [key] to enter setup”.
- If you fail to press the button, you will need to restart your PC and try again. If you are not sure of which key to press, you can check your computer’s model manual or on the internet to confirm it.
- Once you are in the BIOS setup, you need to look for the memory item you want to disable.
- Navigate to the Advanced tab by pressing the right arrow key, then press Enter. This opens the BIOS Advanced Options page.
- In this page, we will show you how to disable bios memory options such as caching:
- Cashing or Shadowing – this helps if you are encountering problems such as the blue screen of death (BSOD) or having problems with memory
RAM – If the RAM you installed in your PC is not working, you may be able to disable it from here without physically removing it from your computer.
Note that some computers may have additional options that others don’t have. It depends on the manufacturer of your PC.
If you can’t find these options under the Advanced tab, try looking for them under other tabs.
10. Select the memory item you want to disable using the arrow keys. You will be able to turn it off, using an allocated key on your keyboard. This key will also vary depending on your computer’s BIOS. But the instructions of changing options in the BIOS settings are usually present on the screen. So, you will find little difficulty navigating through.
11. Once you have disabled the BIOS, press Esc on your keyboard to exit BIOS settings. You will be prompted to save the changes you made. Press Y on your keyboard to accept.
12. Your computer will restart.
If you can’t disable BIOS settings and you are experiencing the blue screen of death or memory problems, we recommend you try the methods below:
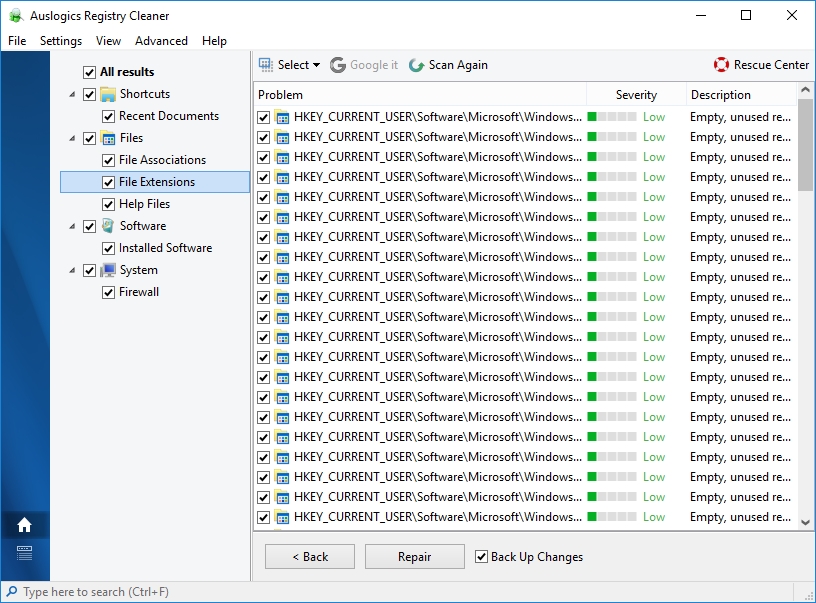
- Download and install Auslogics Registry Cleaner. This tool is very simple and easy to use. It will fix all the errors in your registry which may be causing your PC to malfunction. It ensures the smooth running of your computer and eliminates crashes. Furthermore, it is 100% free.

- You can also try to restore your computer to an earlier date. This method is very effective, but it will work only if you created restore points previously.
- Run the built-in blue screen of death troubleshooter. Microsoft provided this tool to troubleshoot the BSOD because it is a common problem encountered by Windows users.
- Scan your computer for corrupt system files, using Command prompt.
- Check your memory, using Windows Memory Diagnostic.
We hope that this article has taught you how to disable BIOS memory options on Windows 7.
We appreciate your comments and ideas.
We are ready to provide you with more details regarding the extra methods provided above.