Timeline is the new organizational tool in Windows 10. It can help you keep track of what documents and web pages you’ve been working on. The tool organizes all of your tasks into a collection of files that you can easily access and allows you to pick out the necessary document. However, not all users know that after the Windows 10 April Update Timeline won’t show up in the Timeline window. To make it visible again, you need to do some ‘damage control’ and revert to the customized settings that will allow you to use this tool. Despite prompting users to ‘use their PC’s for more activities’, Windows developers have neglected to provide a quick fix for the timeline doesn’t work on Windows 10 April Update issue. This article will show users how to use Timeline on Windows 10 April Update.
So, if you have enabled three privacy settings that are necessary to turn on Timeline, you should proceed to the fixing options below. To recap, the three settings are:
- Let Windows collect my activities
- Let Windows sync my activities
- Show activities from accounts
All of these should be running so that the data necessary for Timeline would be collected. To check, you can go to the Microsoft account website and see if the activities are being collected and uploaded. After that, make sure that the Timeline is enabled (check the boxes in the Activity History of our Windows permissions) and see below for other possible issues.
Pro Tip: It is possible to fix many PC issues by using the PC Repair tool. PC Repair is easy to use and reliable Windows optimization software developed to fix hundreds of system issues.
Special offer. About Outbyte, uninstall instructions, EULA, Privacy Policy.
How to fix Timeline issues on Windows 10 April Update?
Method 1. Customise your Registry. Tweaking Registry values have proven to be a fast fix for the Timeline issue. Go to HKEY_LOCAL_MACHINE\SOFTWARE\Policies\Microsoft\Windows\System and set to ‘1’ the keys that follow:
- EnableActivityFeed
- PublishUserActivities
- UploadUserActivities
Make sure that these exist as DWORD keys, so if you don’t have them, you have to create them.
Method 2. Clean your activity history. This may be the hiccup that is holding your operating system back in using the Timeline tool. Follow this pathway and hit the Clear button: Settings app > Privacy > navigate to Activity History > go to Clear activity history.
Method 3. You can perform a repair of the upgrade. To do that, you need to download the Windows 10 OS version and launch the setup. Follow the instructions on your screen to install the OS.
Method 4. Choose a new account. This is a workaround, but it doesn’t really fix the problem. You can, however, create a new account and use Timeline under that account. But remember that if there is any important information stored under your old account, you will need to transfer it to the new one. To create a new account, you must go to Settings> Accounts>Family and other people>Add someone else to this PC.
Method 4. Running an SFC scan is probably the best solution if you are not friendly with the Registry, but one of the files is deleted or corrupted. Follow these steps to run the scan:
Step 1. Go to Start and type cmd into the search, open Command Prompt as Administrator
Step 2. Enter the ‘sfc /scannow’ command and hit Enter. 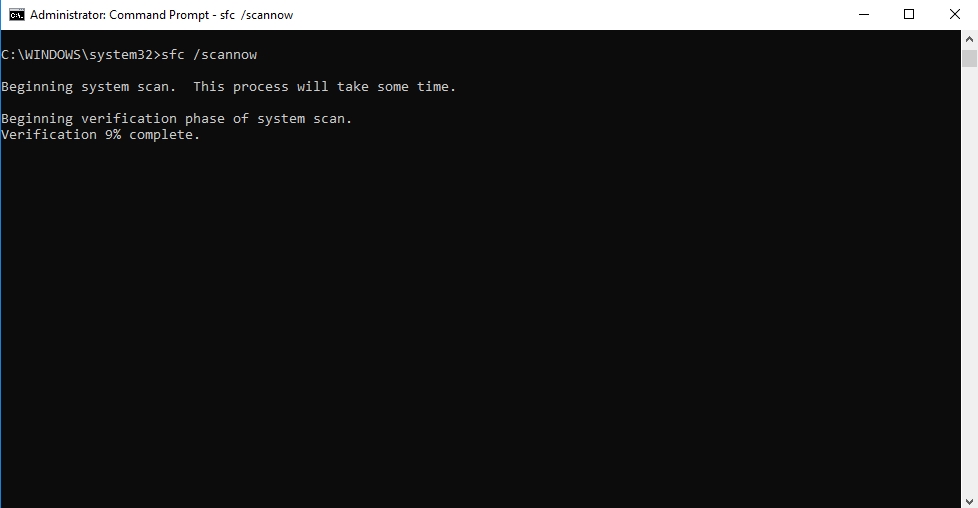
Step 3. Wait for the process to be completed and then restart your computer.
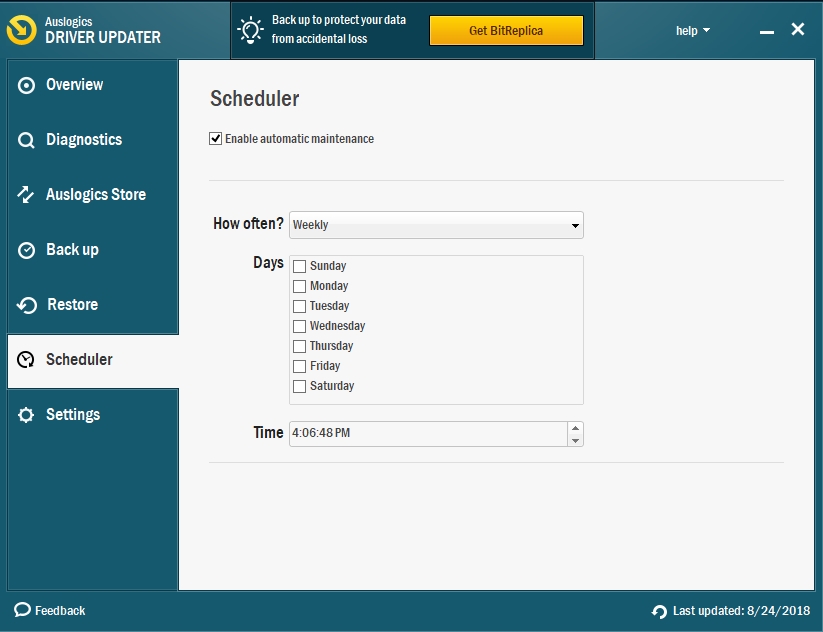
Method 5. Update your drivers. The update of the operating system can mess up the intricate, customized unity of your hardware and the software that is used to run it. So, it’s best to invest in a tool like Auslogics Driver Updater that will keep all you essential drivers checked and running.
Method 6.
Clean up all your Windows Installation folders. The accumulation of files that have the same name can result in a disaster for your system. So, when you install a new OS version, make sure you delete the previous installation folders to avoid the mislabelling of essential components. You can use Disk Cleanup with this easy guide:
Step 1. Go to Start and access Disk Cleanup.
Step 2. Select the drive where you usually install the Operating System.
Step 3. Look below and press the Clean up system files button. 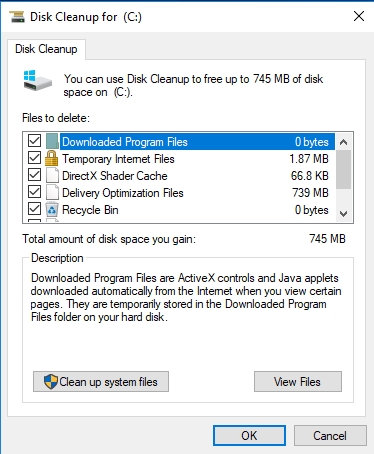
Step 4. Allow the system to scan the selected drive.
Step 5. A new option will appear when you are asked what files to delete – Previous Windows installations. Check that and wait for the process to finish.
We hope that at least one of these methods has helped to find a solution to you Timeline issue and you can now boost your productivity with this tool.