Modern users have become increasingly dependent on technology. A lot of people are training in jobs that only require a computer. But what if that computer starts to malfunction? Unfortunately, you can never be sure that one fine day your computer will not start displaying signs of system failure or present you with a couple of errors. In any case, you should be prepared and aware of the eventuality of this situation. For example, one of the most common errors Windows 10 users have come into contact with is “Please insert disc error”. Let’s figure out what exactly your computer is trying to convey and how you can fix this issue.
How to fix it please insert the disk issue on Windows 10?
Method 1.
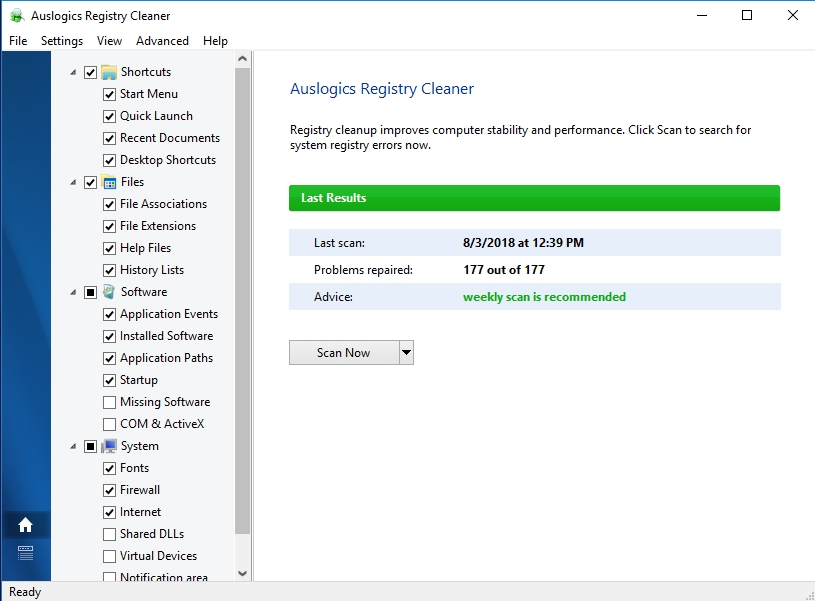
If you are in the mood for some heavy lifting, you can start with your Registry. It’s a common misconception that cleaning you Registry is easy. In fact, you can cause irreversible damage to your computer. So, only if you are sure of your own abilities should you attempt to make any changes whatsoever. Otherwise, you can use a special tool like Auslogics Registry Cleaner that will find corrupted files and restore them to a healthy state.
Pro Tip: It is possible to fix many PC issues by using the PC Repair tool. PC Repair is easy to use and reliable Windows optimization software developed to fix hundreds of system issues.
Special offer. About Outbyte, uninstall instructions, EULA, Privacy Policy.
Below you will find a step-by-step guide on how to edit your Registry.
- Step 1. Open Registry by using the Win key +R shortcut.
- Step 2. Enter ‘regedit’ into the search box and hit Enter.
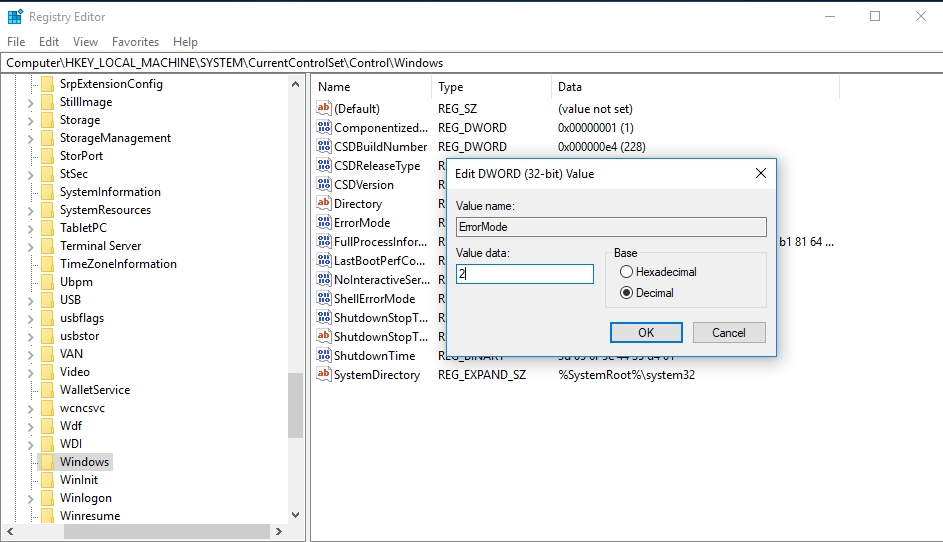
- Step 3. Navigate to the left side of the window and find this path:
HKEY_LOCAL_MACHINE\SYSTEM\CurrentControlSet\Control\Windows
- Step 4. In the right side of the window, double-click the Error mode file and open its properties.
- Step 5. In the value data field, enter ‘2’ and select “Decimal” for the Base option. Click OK.

- Step 6. You have made the necessary changes in your Registry. Hopefully, this will resolve the problem you were having.
Method 2.
The next fix we are offering is more of a workaround. Meaning that it will work for a while, but you really should dig deeper and figure out what has happened to your computer in the first place.
You can change the letter of your drive so that the machine doesn’t get confused. This usually happens when you are using a card that can be inserted into the card reader. Use the instructions below to figure out what to do:
- Step 1. Press the Win key and X. Select Disk Management from the drop-down menu.
- Step 2. Find your SD card in the list and right-click it.
- Step 3. Choose to Change the Drive Letter and Paths.
- Step 4. When the window opens, select Change.
- Step 5. Be sure to select the “Assign the following drive letter”. Choose one of the letters of the alphabet, but those that are rarely used, like Z or Q.
- Step 6. When you are done, click OK.
- Step 7. This should work for those of you having trouble with reading your cards with the card reader.
Method 3.
It’s always advisable to keep your computer updated at all times. Whenever you are having trouble with one part or another, always check for updates. You may not be the only one with a problem, and the good thing about that is that someone could have already found a solution. Visit the Windows Update section in your computer, and the download of missing updates will start automatically.
Method 4.
Use your troubleshooter. Sometimes the built-in troubleshooter of Windows can fix the problem that you were having. After all, it’s designed especially for this purpose. Also, just running the troubleshooter can fix the problem that you are having without any a headache on your part. Use this guide to enter and run the program:
- Step 1. Press Win key and S. Select Troubleshooting from the menu.
- Step 2. When the program opens, click View All in the menu.
- Step 3. You will get a list from there you can pick ‘Hardware and Devices’.
- Step 4. Click Next to open the Hardware and Devices Troubleshooter, you will get instructions – follow them. After the Troubleshooter scans your computer, you shouldn’t have this issue anymore.
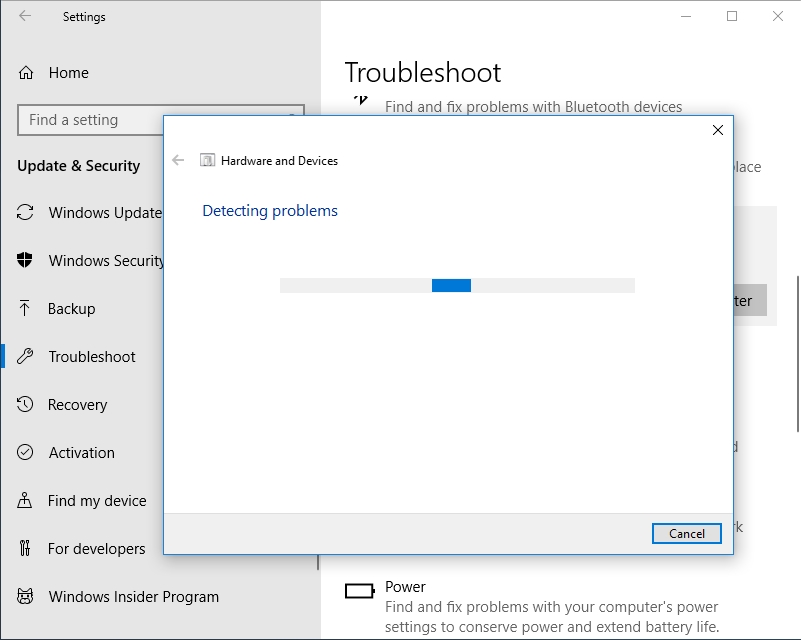 After the Troubleshooter scans your computer, you shouldn’t have this issue anymore.
Method 5.
Some users report that another great fix is getting a new chipset driver. They say that it’s an easy procedure, and to do that, you need to go to the manufacturer’s website of the motherboard that you are using and download a different set of chipset drivers. This will allow your computer to ‘see’ the disk once again. If, however, you found this explanation confusing and are still unsure what a motherboard is, we suggest reading on for other solutions.
Method 6.
If your “Please insert the disk” error is pertaining to a computer that has a DVD driver, you might want to try to uninstall the driver altogether and let Windows 10 install it back again. This procedure doesn’t take long, but there are some important tips that you should take advantage of. See our guide below to make sure you do everything right.
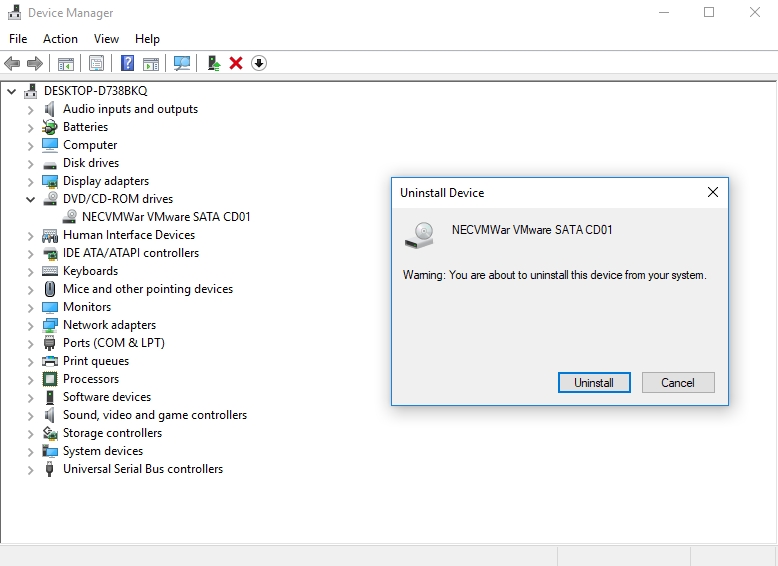
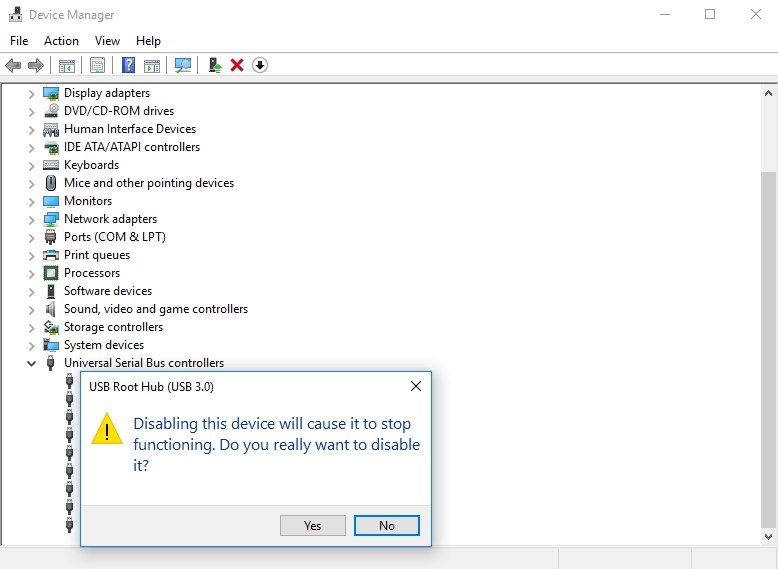
- Step 1. Use the Windows key and X shortcut and choose Device Manager from the drop-down menu.
- Step 2. When it opens, navigate to your DVD driver and right-click it. Select the option to Uninstall it.
- Step 3. Confirm with OK.
- Step 4. Restart your PC.
- Step 5. After you have removed the DVD driver and restarted your computer, Windows will be prompted to install the driver automatically. Confirm the operation and wait for the driver to be installed. This should fix the problem.
Method 7.
Another possible culprit of the problem you are having could be a device that is using a USB port and scrambling the signals with the disk drive. Some users report that after installing a printer that was connected via a USB port, they started having this issue. To make sure that all your devices are connected correctly, you can disable the USB port on your printer via the Device Manager. Use this quick guide to execute the changes:
- Step 1. Open Device Manager.
- Step 2. In the list, find your printer’s USB port and right-click it.
- Step 3. In the drop-down menu, choose to disable it.
- Step 4. Be sure not to disable the USB port of your computer. These are two different things.
Method 8.
Check your newly installed software. Some new software has been reported to be the reason behind the “Please insert disk” error. In this case, a reasonable thing to do is to understand that all software needs a translating device to work efficiently with your computer. In some cases, even delete Windows Update has something to say and stops any possible attempt of securing the connection between the new software, old software and the computer itself. This is why all computers need to be checked regularly and given support in terms of maintaining the hardware. We suggest using Auslogics Driver Updater because this tool will keep your computer updated at all times.
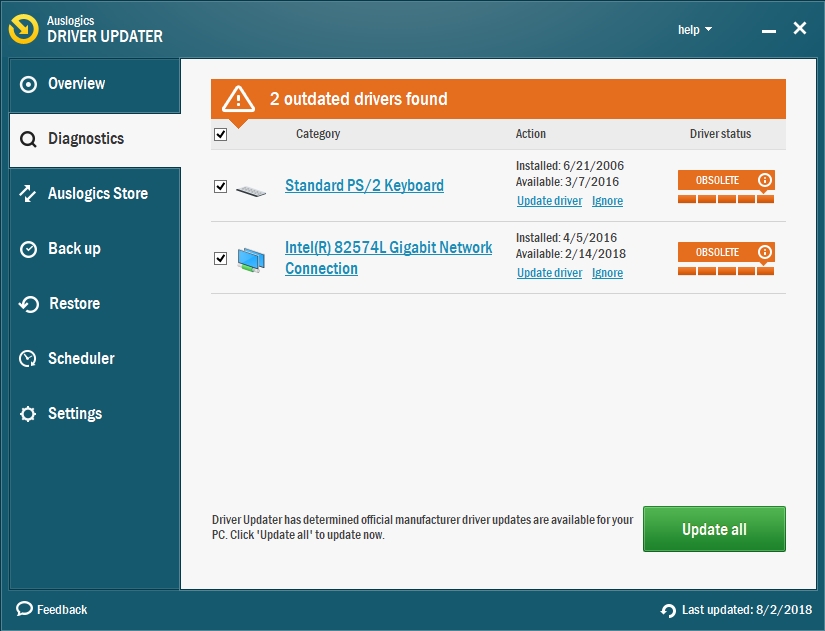
The scans it performs will give you an idea of how many drivers you actually have to manage: the printer, the mouse, the keyboard, all disk drivers and so many more! Maintaining the health of your computer is not always about finding a great anti-virus: sometimes you need to really focus on the internal workings, and this program will help you to do just that!