Hardships often prepare ordinary people for an extraordinary destiny.
– C.S. Lewis
Most users use their external hard drives as a backup device. It could be very frustrating when you connect it to your computer and nothing shows up. This could mean that all of your important data on that drive will be lost. However, you should not panic because we will provide you with solutions for this problem.
Pro Tip: It is possible to fix many PC issues by using the PC Repair tool. PC Repair is easy to use and reliable Windows optimization software developed to fix hundreds of system issues.
Special offer. About Outbyte, uninstall instructions, EULA, Privacy Policy.
Normally, all you have to do to use your external hard disk drive is plug it into your computer via a USB port, but there are times when it is not this easy. Whether you have got a brand new external drive that would not show up at all or suddenly have issues with the one you are using, in this article, we are going to show you how to fix external hard drive not showing up issue in Windows 10. Make sure that you try all the solutions provided here until you find the one that works for you.
Table of Contents
- Troubleshoot the issue
- Make sure that the external drive is enabled
- Update your disk drivers
- Partition the disk drive
- Change the drive letter
Solution 1. Troubleshoot the issue
The first thing you need to do when your external hard disk drive does not show up is to troubleshoot it and find out where the problem is located. You need to know if the issue is with your hard disk drive or with your PC.
Try connecting the drive to another USB port to check if the issue is with your ports. If the disk drive is recognized, then the problem is with your port.
You can also try changing the USB cable. It could be the culprit in this case. If your USB cable is defective, your PC will not read the hard disk drive.
Furthermore, you can connect your external drive to another computer to check if it recognizes it. If it does, then the problem is definitely with your PC. If it does not recognize it, then you should consider changing the drive because it is failing or you can contact the manufacturer.
Solution 2. Make sure that the drive is enabled
You will also encounter this problem if the external drive is disabled in your computer. You need to make sure that the disk drive is enabled on your PC. Use the following steps to check:
- Press the Windows logo key + R on your keyboard to open the Run dialog box
- Input devmgmt.msc in the search area and press Enter. This will open the Device Manager
- Click on the arrow next to Universal Serial Bus controller to expand it and see the disk drives which are connected to your computer
- Right-click on your external hard drive and select Properties
- In the General tab, click Enable device. Note that if the device is already enabled, you will see Disable device
Solution 3. Update your disk drivers
If your disk drivers are outdated, your PC will not be able to read your external hard disk connected to it. Note that drivers are the tools which act as the middleman between your hardware and operating system. If the drivers are absent, they will not be able to communicate. There are several ways to update your drivers, and we will show you them:
Method 1. Download and install Auslogics Driver Updater
If you are short of time and patience, this is the tool for you to use. Auslogics Driver Updater is very easy to use, and you will be able to update all your drivers in just one click. It gives you the opportunity to install all your missing drivers at once. It also provides your devices with the manufacturer-recommended drivers. You will not need to worry about downloading and installing the wrong driver for your device. Here is how to download and install Auslogics Driver Updater:
- Navigate to the website and download the setup file, using this link
- Once the download is completed, run the setup file. This will open the Auslogics Driver updater installer
- In this window, you can select the program language and installation folder
- When the installation is finished, Auslogics Driver Updater will open and automatically start scanning your PC for missing drivers
- When it is done, you will be able to update all the drivers in just one click
Method 2. You also have the possibility to download the driver directly from the manufacturer’s site.
To use this method, you need to know the name and version of the device so that you do not download a wrong driver because it may cause other problems in your operating system. To avoid this problem, some manufacturers have created clients which can be installed in your system to notify you when a driver needs to be updated and where to download the driver.
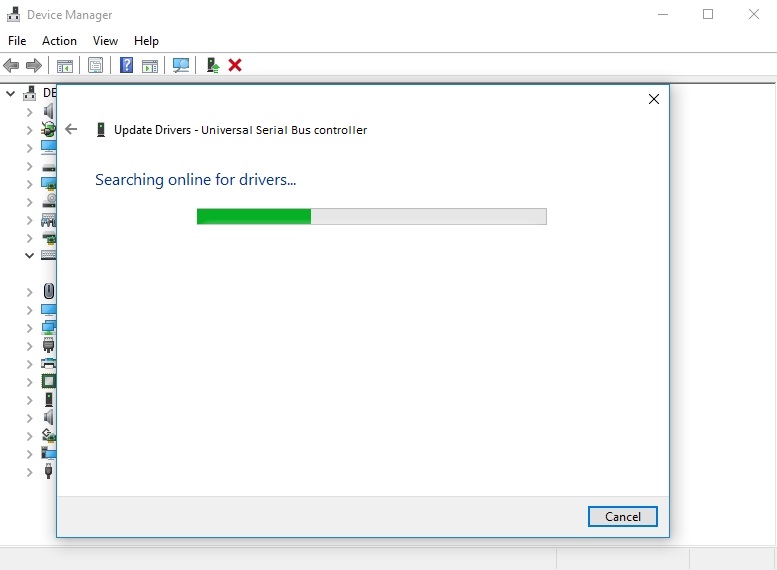
Method 3. Update the driver, using Device Manager
- Open Device Manager by pressing the Windows logo key + X on your keyboard and selecting Device Manager from the pop-up menu
- Double-click on Universal Serial Bus controllers to expand it and see the drives which are connected to your PC
- Right-click on your external drive and click Update driver
- Select the option prompting you to download the driver from the internet

- The best driver for your device will now be downloaded and installed
Solution 4. Partition the drive
Partition issues can be the reason why your disk drive is not showing up when you connect it to your PC. This happens very often when it is the first time you are connecting the drive to your PC. To fix this, you will need to partition the drive. Here is how to do it:
- Press the Windows logo key + R on your keyboard to open the Run dialog box
- Input diskmgmt.msc in the search area and press Enter. This will open the Disk Management window
- Right-click on your external hard disk as click Shrink volume
- In the next window, input the amount of space you want to shrink in MB and click Shrink
- You will see a new free space on the list. Right-click on it and select New Simple volume
- Now, you should input the size you want to allocate to the free space and click Next
- In the next window, you will have to choose the letter for the drive, then click Next
- In the next window, choose the File system as NTFS and then click Next. The disk will be formatted and be ready for use
Solution 5. Change the drive letter
You can also try to fix this problem by changing the drive letter. Use the following steps to change it:
- Open Disk Management as shown above
- Right-click on your External disk drive and select Change Drive Letter and Paths form the drop-down menu
- In the next window, you can add a drive letter if your hard disk does not have one by clicking Add, or you can change it if it has already been assigned by clicking Change
- Select Assign the following drive letter, then choose your preferred letter
- Click OK when you are done to save the changes you made
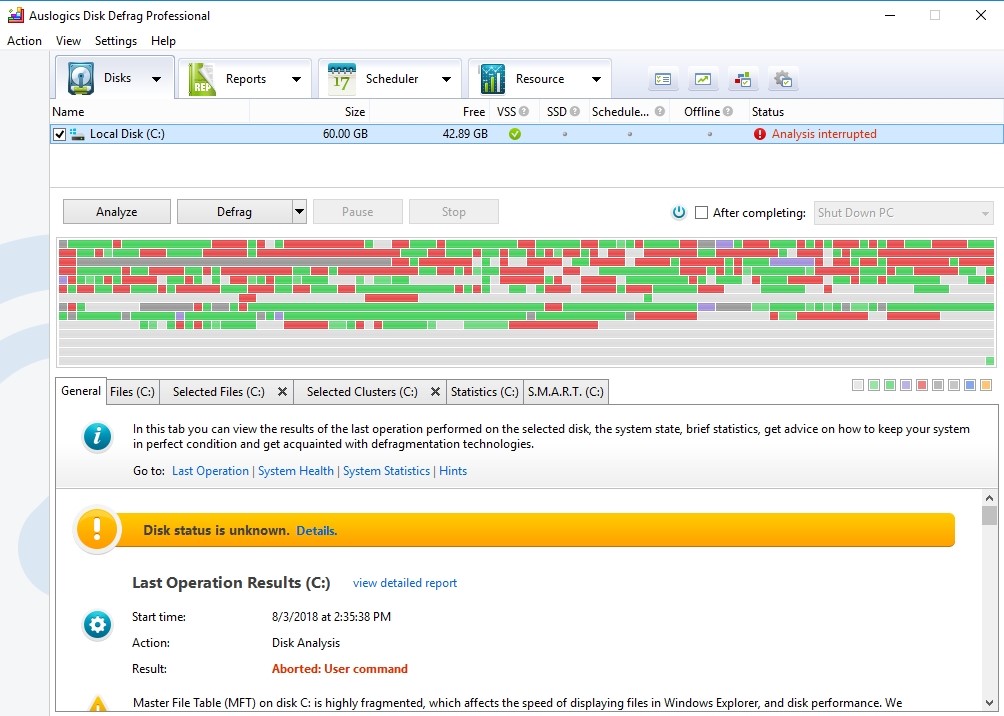
Recommendation: if you disk drives are slow or not working as they should, we recommend that you download and install Auslogics Disc Defrag Pro. This tool will get your disks up and working at maximum performance. It will defrag the inaccessible files on your drive and place them in an organized manner to ensure easy access.
We hope that this article has helped you with the hard disk issue. Share it with others who encounter similar problems.
We appreciate your ideas and comments.
We are ready to answer all your questions regarding the above topic.