“The will to win, the desire to succeed, the urge to reach your full potential?
These are the keys that will unlock the door to personal excellence.”
— Eddie Robinson
Pro Tip: It is possible to fix many PC issues by using the PC Repair tool. PC Repair is easy to use and reliable Windows optimization software developed to fix hundreds of system issues.
Special offer. About Outbyte, uninstall instructions, EULA, Privacy Policy.
Experiencing game crashes is very frustrating. This is because you will lose game progress and have to restart from the beginning. Nowadays, PC gamers encounter this problem often due to the recent Windows 10 Creators Update/Windows 10 Fall Creators Update by Microsoft. This does not mean that this update has brought only crashes to users. There are lots of cool features which you gain from this update. In fact, it has been tested that your games will run faster and have a better performance with this new update. The only problem is with the crashing. Since updates from Microsoft are mandatory, we only have to look for another way to avoid this problem with the update. There are pros and cons with using a Windows 10 Creators Update computer. Today, we will be talking about some of the cons.
Many users have complained that they had problems with games like Rocket League, Forza Horizon 3, Glyph, etc. Some users have also said that even when they did a clean install of the update and reinstalled the games, it still did not work. This error might be with game components like .Net Framework files, NVIDIA graphic drivers, gaming patches, etc., since they may not be compatible with the new Windows 10 Creators Update, resulting in game crashes.
In this article, we are going to show you how to fix games crashing after windows 10 update.
Method 1.
Make sure you have Smooth Network Connection activated on your computer. This setting provides your computer with an appropriate network condition for gaming. If you have an unstable ethernet or wireless network, it may affect greatly your gaming experience because the games will take much time to load and they will also lag very much. Use the following steps to check your network connection:
Open your internet browser and launch any web page to see how fast they load or if they load properly.
You can also use speed test utilities to check your internet speed.
Make sure your internet connection is stable and fast before loading any games on Windows 10.
Method 2.
Another way is reinstalling the game or getting the new updates for the game to be able to keep the game from crashing. Reinstalling a game is not something pleasant to do. Especially if you will lose some data or game progress. But if this is what you need to do to run the games smoothly on your Windows 10 PC, then it is worth it. Downloading the game update files from the developer’s site is another option. This is a better option, since you do not risk losing data or game progress. Installing the game updates will fix the old or incompatible files. This is because developers always want their games to be able to run on the last versions of the Windows operating system.
Note that backing up data or game progress will make reinstalling less frustrating.
Method 3.
Using the Windows 10 DirectX Diagnostic Tool. DirectX is a group of app programming interfaces or APIs for performing multimedia-related tasks, mostly programming games and videos, on different Microsoft devices. This tool is very vital for a gamer who is gaming on a Windows 10 Creators Update computer. If your game refuses to launch, you can use this diagnostic tool to find the problem:
- Press Windows key + R on your keyboard to open Run dialog box.
- Type dxdiag in the search box and press Enter.
- Now, you can check the DirectX version on the System tab.
- Navigate to the Display/Render/Sound/Input tab.

- You can see if there are issues with checking the Notes.
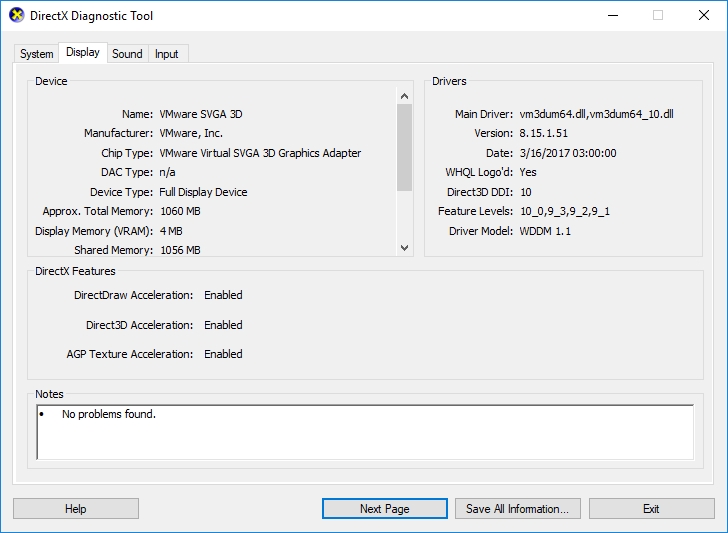
If you find problems there, then you need to search for the solutions on gaming forums on the internet. Also, you can send the information to the developers who will provide you with professional help.
Method 4.
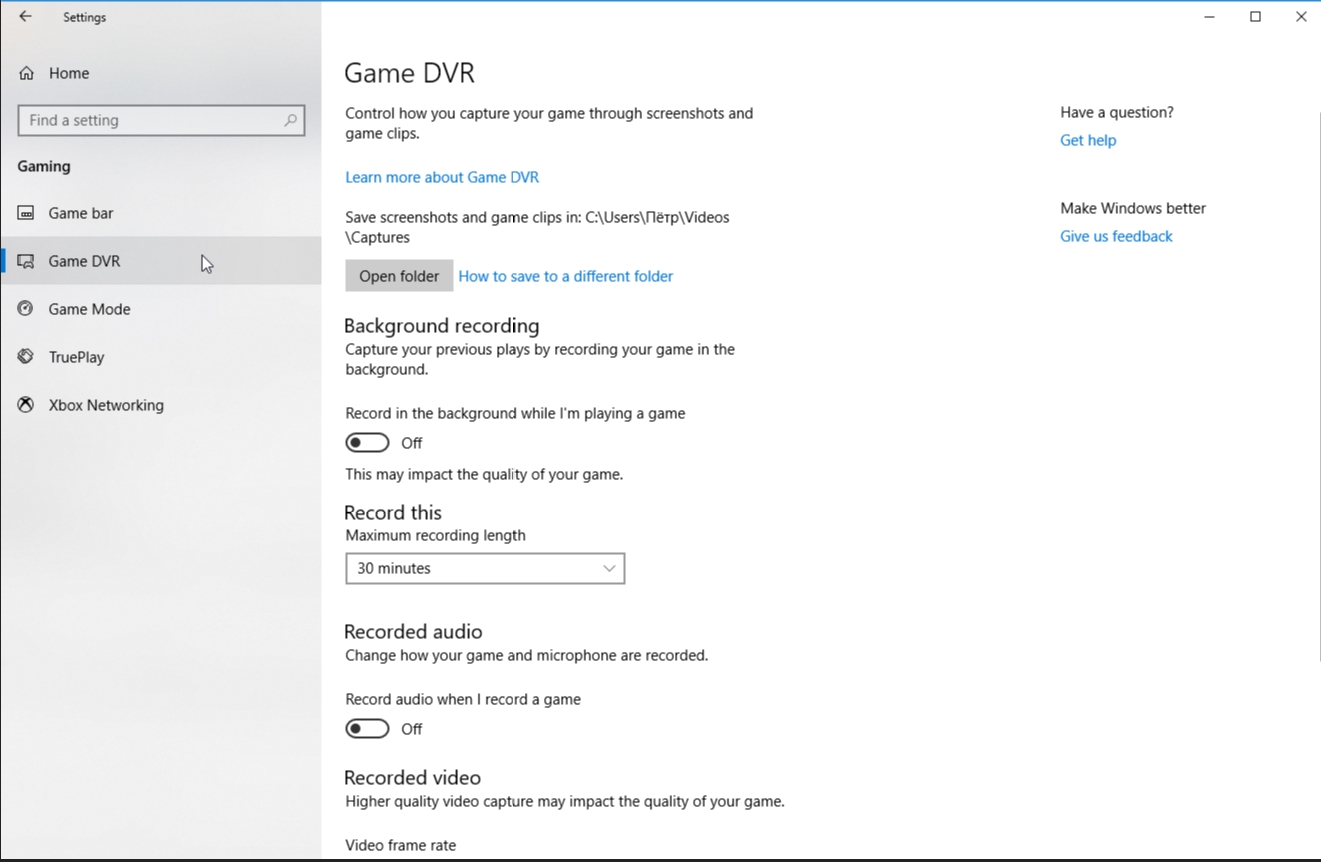
Disable the Gaming Recording Feature. This method is one of the most common fixes for game crashing on a Windows 10 Creator Update computer. To do this, use the following steps:
- Click on the Start or Home button and navigate to the Xbox app.
- Open the app and navigate to Settings.
- Choose GameDVR.
- Switch off Record game clips and screenshots using Game DVR.
- This will hopefully make your games run smoothly again without crashes.
Method 5.
On your computer with Windows 10 Creators Update, you can disable Driver Signature Enforcement to fix this issue. Installing drivers on your Windows computer requires that they must include a digital signature to function properly. This signature is an electronic security mark which indicates the manufacturer of the driver. It also indicates if a third party has altered the contents of the driver package. For these drivers to be able to function on Windows, they must be verified by Microsoft. Unsigned drivers will not function on the Windows operating system. Sometimes your games may require drivers which have not been verified by Microsoft, which may cause the games to crash since the drivers are not functioning.
There are two ways to disable Driver Signature Enforcement:
Through Troubleshoot:
There are several ways to boot into the Choose an option screen on Windows 10:
- Click on the Start or Home button and select the Power icon. While holding down the Shift key, press Restart.
- Press the Windows key + R on the keyboard to open the Run dialog box. Type Shutdown/r/o and press Enter. Click Close to sign off.
- Right-click on the Start or Home button and select Settings. Go to Update and Security. Click on Recovery on the left panel of the window. Select Restart now under the Advanced startup option.
Your computer will now reboot into the Choose an option screen. Now, go to Troubleshoot > Advanced options > Startup Settings. Click on Restart.
During the booting process, you will see a blue screen with a list of startup setting. Press F7 key to disable Driver signature enforcement.
To permanently and completely disable Driver Signature enforcement:
Press the Window key + X on your keyboard, in the pop-up menu, select Command Prompt(admin). Type bcdedit /set testsigning on in Command Prompt and press Enter. Close Command Prompt and restart your computer. Now, you should be able to install any driver on your computer.
Method 6.
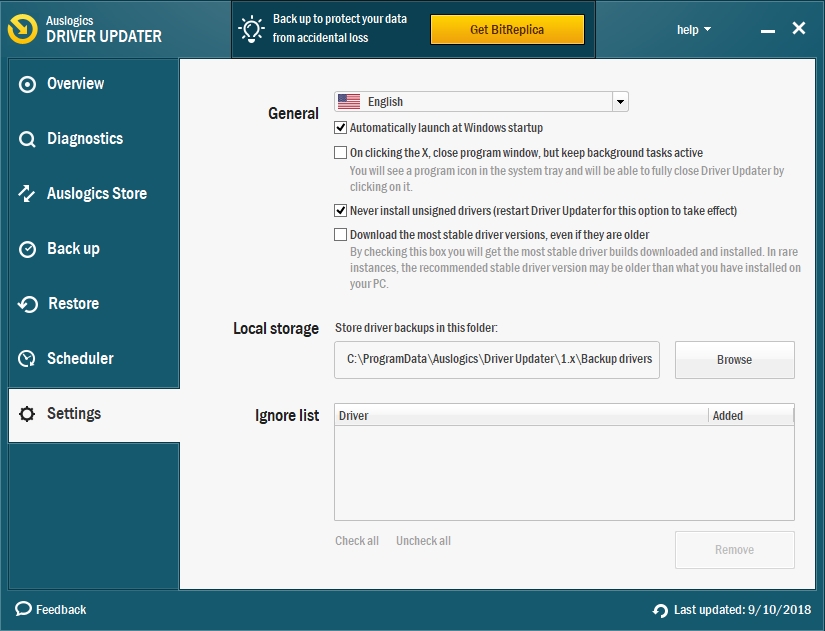
Download and install the Auslogics Driver Updater tool. It will automatically update all your outdated and missing drivers in just one click. It will save you a lot of time and provide you with the manufacturer-recommended versions of your drivers.
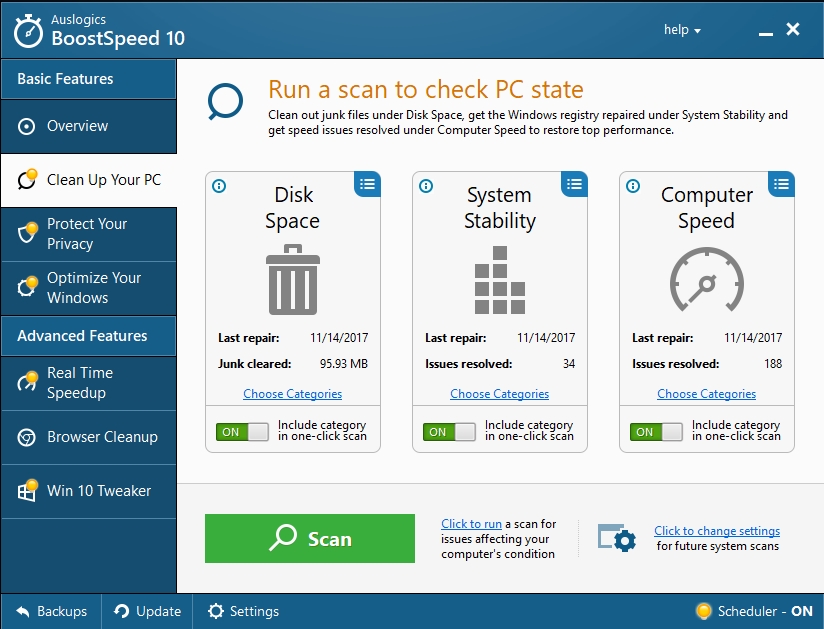
Recommendation: if you are witnessing lagging with your games, we recommend you to download and install Auslogics BoostSpeed. This tool will tune up your PC for maximum performance. You will be able to enjoy your gaming experience on a Windows 10 Creators Update computer without crashes.
We hope that this article has solved your gaming issue with the Windows 10 Creators Update. Share it with others who encounter similar problems.
We appreciate your ideas and comments.
We are ready to answer all your questions regarding the above topic.