A wireless printer is easily a far more convenient device to use in our everyday life than its wired counterpart. With it, you can perform operations like printing or scanning without any physical connection to the printer. This setup often proves its worth in scenarios where you want to print something quickly, but you do not want to bother yourself with a troublesome USB cable to make contact.
- A good number of modern wireless printers have LCD panels which you work on to complete their setups. This mode of communication is one of the most intuitive.
- To connect to other printing devices, you might have to locate a specific WI-FI network, input the required password to connect to it and set up your printer.
- Finally, we know of some users with relatively old wireless printers that first require a cable connection for their setup.
In this guide, we will show you how to set up a laptop to print wirelessly. Although the instructions we will provide here are based on the operations we carried out and tested with a specific printer model, they should work for almost any wireless printer regardless of its manufacturer or build.
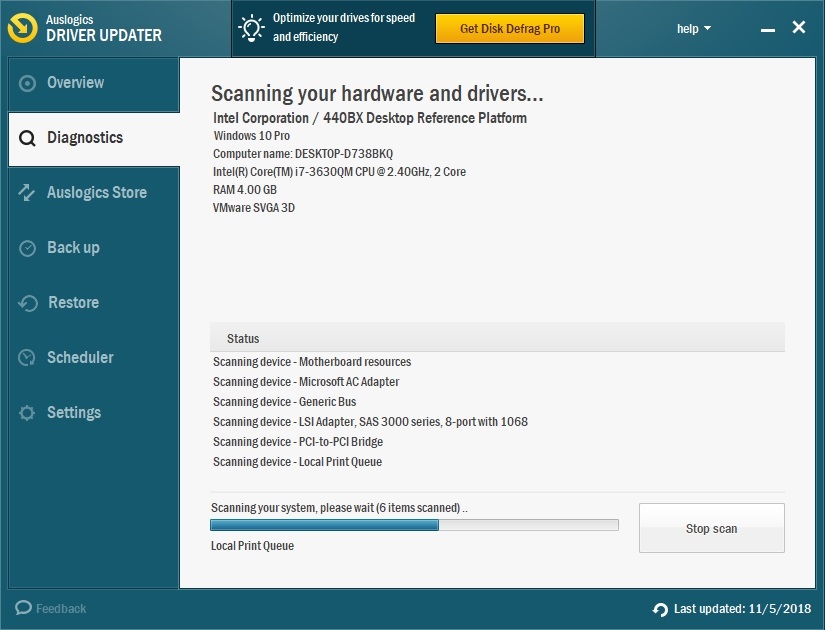
Before you begin, we recommend that you download and run Auslogics Driver Updater. With the help of this superb program, you can upgrade a specific driver or even all the device drivers on your PC in the fastest, safest, and most efficient way. After all, a good proportion of the problems associated with the setting up of printers have something to do with drivers, and you will do well to avoid them.
Pro Tip: It is possible to fix many PC issues by using the PC Repair tool. PC Repair is easy to use and reliable Windows optimization software developed to fix hundreds of system issues.
Special offer. About Outbyte, uninstall instructions, EULA, Privacy Policy.
How do I connect my laptop to my wireless printer on Windows 10?
What you have to do here is obvious enough as it is the first step to getting your printer to appear on your computer. Follow these instructions:
- Press the Windows button on your keyboard or click on the Windows Start icon. Input the following keyword into the text field present to do a quick search: printer
- From the results list that Windows shows you, click on Printers and Scanners (System Settings). Now you must turn on your printer.
- To connect the printer to the network, you would have to go through the instructions outlined in the device manual. The procedure varies substantially for different manufacturers so, it is incredibly difficult for us to provide a general approach that would prove useful for everyone. In fact, sometimes the setup is not the same for different models of printers from the same firm.
- Click on Add a printer or scanner. Now Windows should show you a list of available printers. Locate the device you want to connect to and click on it to highlight it.
- Click on the Add device button. Everything should go smoothly now.
Note that you can use the procedure you just carried out to connect to a wired printer. All you have to do is connect the device via the cable provided after you complete the second step.
Windows failed to detect your printer?
Some users might experience problems while trying to set up their printer. There is no need to worry or panic if your system did not locate your printer. After all, besides the automatic method of connecting and setting up a printer, there is a manual approach which comes in handy in scenarios like this.
Go through these steps to launch the wizard that will guide you in resolving your problem:
- Press and hold the Windows button on your keyboard, then tap the letter Q key. Input the following keyword into the text field present to perform a quick search: printer
From the results list that appears, you must click on Printers and Scanners (System Settings).
- After the program window comes up, click on Add a printer or scanner. Click on The Printer that I want wasn’t listed.
- Click on the radio button for Add a Bluetooth, wireless or network discoverable printer. We expect you to see your printer soon. If everything goes well, you will have to click on your printer to select and highlight it. Windows should now make the necessary connections.
- If Windows still could not locate your printer, then you have to check and make sure everything is in order. Ensure that the printer is switched on. Verify that the printer and your computer are on the same local network, then try out the other options on the Add Printer wizard.
- Start with the My printer is a little older. Help me find it option. Windows will perform another scan, but this time it will use multiple methods of detection to try and locate several printers if they are available. If nothing changes, then you must try out other options and follow the instructions that appear on your screen.
How to install a wireless printer using an IP address on Windows 10?
If Windows struggled to identify or detect your printer after you went through the steps in the previous procedures, then this alternative method of connecting and setting up a printer might prove useful to you if you have the necessary information to make it work. Follow these instructions:
- Repeat the instructions in the first and second step for the previous fix to arrive at the program menu for printers. After you click on The printer I want wasn’t listed, Windows will launch the Add printer wizard.
- This time, you must select the radio button for Add a printer using a TCP/IP address or hostname option. Click on the Next button to continue. On your next screen, you will have to input and confirm several variables or parameters.
- The value for Device type must be Autodetect. Input the Hostname or IP address of your printer and its Port name. Ensure that the checkbox for Query the printer and automatically select the driver to use is ticked.
- Click on the Next button to move on. Windows should now install the wireless printer. If everything goes well, then you will notice that Windows has already given the printer you added a name. You can always change this name in the setup menu later though if you desire something else.
- Click on the Next button to continue. Tick the radio button for Do not share this printer if you do not want to bother yourself with the intricacies of setting up and using a printer across a HomeGroup.
On the other hand, if you know what you are doing precisely, then you are free to select the Share this printer so that others on your network can find and use it option.
- Click on the Next button to round everything up. You will see a message stating that you have successfully added a printer. At this point, Windows might prompt you to do a test to ensure that everything is in order.
- Click on the Print a test page button to verify that your printing setup works correctly. When you are done with this activity, click on the Finish button and move on.
How to change your default printer on Windows 10?
At this stage, we expect that you have successfully connected and completed the setup for your wireless printing device. In theory, Windows works to identify the printer you used most recently on the network and your system chooses it as your default printer.
The setup is enabled by default on your PC—your system will remember which printing device to use as you switch between networks. However, we understand that people often have different needs and not everyone would be okay with the activity of the functionality in view. You can turn it off if you wish and select your preferred printer. Follow these instructions at once:
- Press the Windows button on your keyboard or click on the Windows Start icon that is always visible on your desktop screen. In the text field present, you have to type in the following keyword to do a quick search: printer
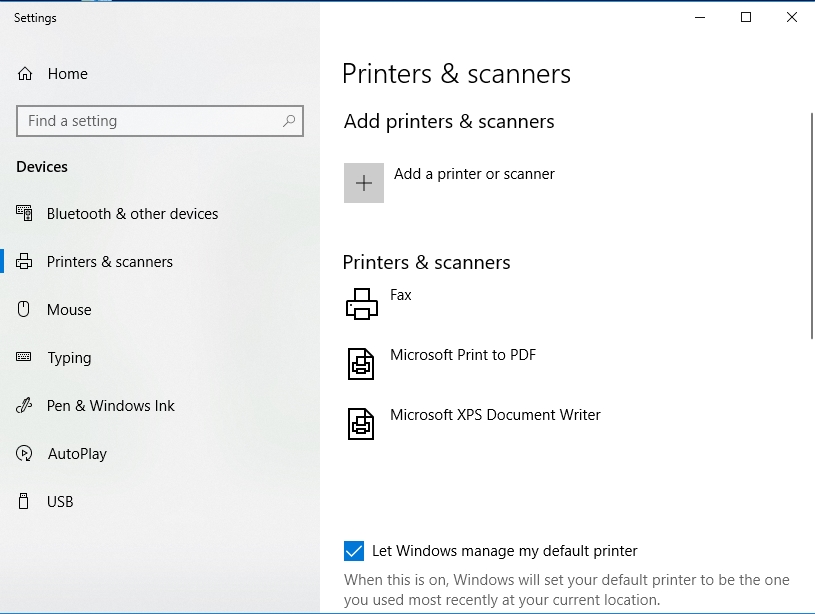
- From the results list that comes up, click on Printers and Scanners (System Settings). After the required program window shows up, you should see the Let Windows manage my default printer option.
- Click on the switch under its description to turn it off. Now you must move to choose the printer you want Windows to use as your default device. Under the Manage your device menu, you will see the list of printers available.
- Click on your preferred printer to highlight it. The Set as default button should now appear. Click on it. The change should become effective immediately, so you are good to go.
At this point, we can do nothing but hope that you have been able to set up your wireless printer successfully on Windows 10 with our help.