After upgrading your Windows, it can sometimes take a little while to for the system to adjust to changes. So, within that short time, you have to stay vigilant and catch the new errors in ‘the act’ in order to process them quickly so they don’t do more damage in the new operating system protocols.
What is system.xml.ni.dll?
We first need to figure out what the DLL system file is. The abbreviation stands for the ‘dynamically linked’ files that are part of the NET Framework. In turn, the .NET Framework is a software framework developed by Microsoft that includes a large library and provides a connection across several programming languages. In such a big scope of work, it’s no wonder that some the system files, tend to run with errors. There are various ‘system.xml.ni.dll’ errors that can be corrupted along the way, missing or could have been not correctly installed in the first place. There are, however, ways to fix these kinds of system file errors.
How to fix system.xml.ni.dll is missing?
There are various reasons the ‘system.xml.ni.dll’ errors may be plaguing your computer. Below you will find a few working solutions on how to get rid of these errors.
Pro Tip: It is possible to fix many PC issues by using the PC Repair tool. PC Repair is easy to use and reliable Windows optimization software developed to fix hundreds of system issues.
Special offer. About Outbyte, uninstall instructions, EULA, Privacy Policy.
Method 1. A great troubleshooting technique is to run the System File Checker tool.
To do that, follow these steps:
Step 1. Simultaneously press the Windows key and the letter X on your keyboard.
Step 2. Select Command Prompt (Admin) in the menu.
Step 3. Input ‘DISM.exe /Online /Cleanup-image /Restorehealth’ and hit Enter.
Step 4. Next, Initiate the Deployment Image tool in Windows.
Step 5. Enter ‘sfc /scannow’ and hit Enter to start the scanning process.
Step 6. Restart Windows after the scan is complete.
Method 2. Check your Registry. Invalid entries can be the reason behind various ‘system.xml.ni.dll’ errors.
Employ a Registry Cleaner, such as Auslogics Registry Cleaner to get rid of all the various ‘system.xml.ni.dll’ errors and repair the corrupted files.
Method 3. Be aware of malicious software on your PC.
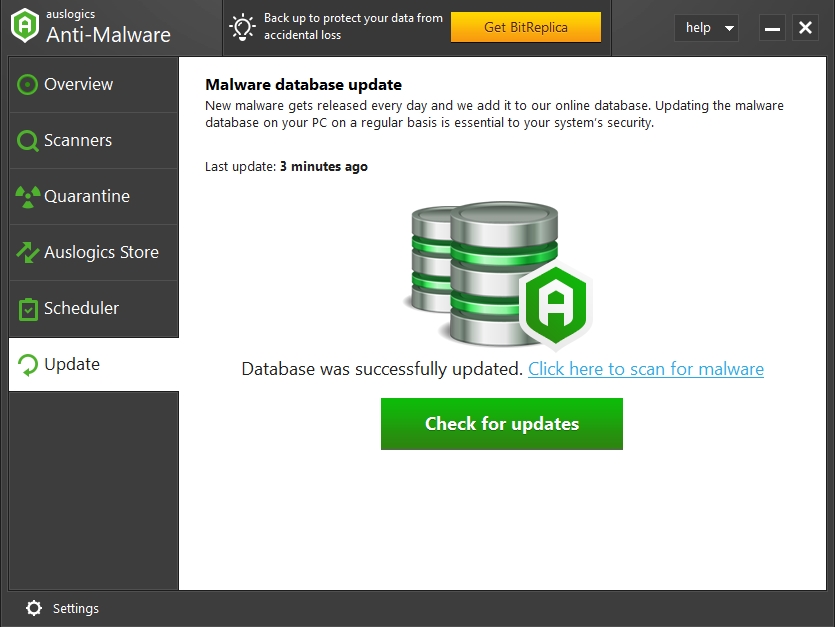
A possible culprit of ‘system.xml.ni.dll’ errors could be lurking in your computer for a while without you ever knowing about it. That’s why we advise executing a malware scan and to get Auslogics Anti-Malware as means of protecting against the pesky malware infecting your computer.
Method 4. Register the System.xml.ni.dll.
You can use this fix if your pop-up windows says that the DLL is not registered properly. You will be using a Microsoft Server Tool (Regsvr32). Follow the instructions below to execute the registry right:
Step 1. Use the shortcut key Windows + X to access the Command Prompt as Administrator.
Step 2. Input ‘regsvr32 /u system.xml.ni.dll’ in the Command Prompt and hit the Return key.
Step 3. Now you have to reregister the same command, so input ‘regsvr32 /i System.Xml.ni.dll‘ again and press Enter.
Step 4. Your error should not appear in the pop-up window anymore.
Method 5. Run the .Net Framework Repair tool.
As part of the .Net Framework the ‘system.xml.ni.dll’ error can also be fixed by the repair tool. Use the official Microsoft website to download the tool, open the .exe file and follow the instructions.
Method 6. If all else fails, try to restore your Windows back to a Restore point.
Provided that prior to upgrading your operating system you have made a backup copy of the system files, you should have a restore point. System restore is a great tool for fixing DLL errors. It will recover the missing DLL system files and undo all Windows Registry change. Basically, it will bring your system back to a time when you didn’t have any ‘system.xml.ni.dll’ errors. Use the following instructions to roll back Windows using System Restore:
Step 1. Use the Windows hotkey and X.
Step 2. Input ‘rstrui’ into the Run box and hit Enter. 
Step 3. Proceed to press Next in the opened window and a list of restore points will open for you.
Step 4. Choose the most recent restore point. A time without ‘system.xml.ni.dll’ errors. 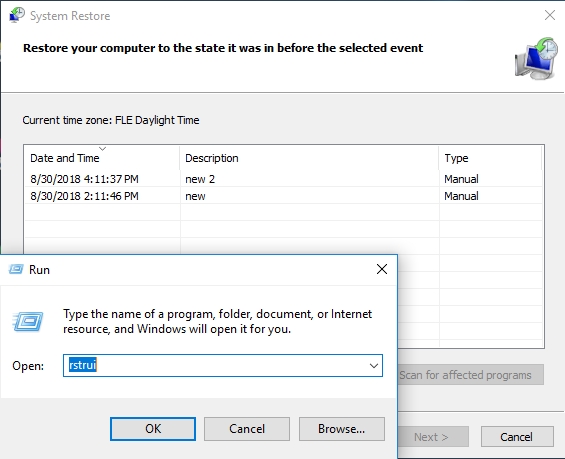
Step 5. Remember that Windows Restore will also remove all the software and data that you have accumulated since the last saved version of the operating system. You can check what programs will not transition with you to the new phase by clicking the button at the bottom of the window that says “Scan for affected programs”.
Step 6. To confirm the selection, press Next and Finish.
Step 7. After successfully restoring to the restore point apply all the changed that could have caused the ‘system.xml.ni.dll’ error and troubleshoot them before upgrading your system.