A great way to customize your PC experience is to schedule certain tasks. It’s also a great way to stay productive – the inevitability of a scheduled program popping up will keep you on track with your work and not allow any procrastination. This article will overview the possible methods that you can use to schedule an automatic shutdown in Windows 10.
But let’s try to figure out why would you schedule a shutdown in the first place?
For some users, it’s a great way of keeping track of a workday. For others, it’s an efficient parenting technique for controlling the amount of time your child spends on a computer daily. A scheduled shutdown is also a life hack when you need to leave your computer for some time, but you have a download or a scan running. In this case, you can schedule a shutdown when the download is complete and go about your business as usual.
Scheduling a shutdown is also a great way to overcomeany other possible troubleshooting issues that your computer might be having – for example, when there is a problem with the shutdown. It’s an unfortunate but not uncommon problem when your computer has been infected by malware. In this case, the first thing you want to do is back up your data and then install an anti-malware tool. For example, Auslogics Anti-Malware will keep you safe from any kind of external interference. However, if you have already been infected and you are failing to shut down your computer manually, it could be possible to ‘trick’ the system with a scheduled shutdown. Below you will find instructions on how to proceed in this case.
Pro Tip: It is possible to fix many PC issues by using the PC Repair tool. PC Repair is easy to use and reliable Windows optimization software developed to fix hundreds of system issues.
Special offer. About Outbyte, uninstall instructions, EULA, Privacy Policy.
How to schedule shutdown in Windows 10?
Method 1. Schedule a shutdown with Task Scheduler
- Step 1. Go to Start Menu and type ’schedule’ into the search box
- Step 2. Open Task Scheduler
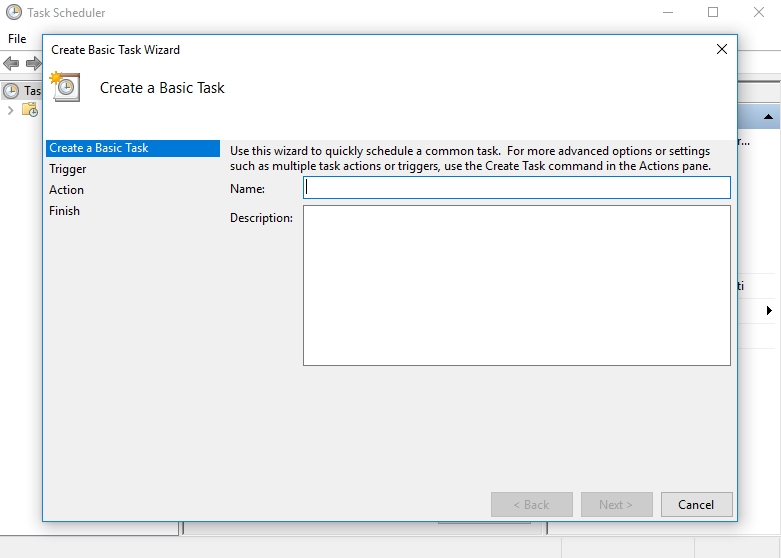
- Step 3. Click the ‘Create Basic task’ option

- Step 4. Name your task, we suggest naming it “shutdown” to avoid confusion with other tasks you have scheduled. Hit Next
- Step 5. Choose when you want the task to start, to do it once – select the ‘One time’ option
- Step 6. Enter the date and time you want the task to be performed and select Next
- Step 7. In the Action Tab, choose Start a program
- Step 8. Now you have to find the program. For that, follow this pathway: C:WindowsSystem32 and select the file named ‘shutdown’
- Step 9. In the ‘Add arguments’ box, type in ‘-s’ and hit Next
- Step 10. Check if the task you arranged is correct and then select Finish. You have successfully scheduled a shutdown on your computer.
Method 2. Use Run dialog, Command Prompt or PowerShell.
Each one of these can be used to schedule a shutdown on your computer. To do that, you have to pick one and perform the steps below:
- Step 1. Open the command manager of your choice. To run the dialog box, you can use the Win+R shortcut, whereas for Command Prompt or PowerShell, you can use the Search bar.
- Step 2. In the search box of any of these command managers, type “shutdown –s –t 600’ and then hit Enter.
- Step 3. 600 in the command stands for the number of seconds before the shutdown will go down. Make sure to have enough time to exit important documents and save them. For this example, 600 seconds amount to 10 minutes, but you can use whatever value seems to fit your personal purpose.
We hope that this guide was useful and that you will continue to use this scheduling technique to the fullest in order to boost your productivity.