Steam is a gaming platform that can be easily integrated with Windows 10. This software has a cloud of its own and provides you with a possibility of multiplayer gaming and video streaming. But what can you do if your computer doesn’t have the capacity to withstand all of these new features? Well, in that case, you can boost the speed of your computer with Auslogics BoostSpeed tool. Also, you can try merging a game from the Windows store directly into Steam. This article will have an overview of the integration process of Windows 10 Store game apps to Steam and some important lifehacks that will improve your gaming experience.

Microsoft Windows Store has recently become the major resource for all gamers, but if you are using Steam, it only makes sense to add your games there too. Unfortunately, there is no direct support for the games that you install from the store. However, there is a handy feature that allows you to manually add Windows 10 Store Games to Steam. So, make sure you have installed the game on your Windows PC and use the following guide to add Windows Store games app to Steam.
Pro Tip: It is possible to fix many PC issues by using the PC Repair tool. PC Repair is easy to use and reliable Windows optimization software developed to fix hundreds of system issues.
Special offer. About Outbyte, uninstall instructions, EULA, Privacy Policy.
Note that you need admin privileges to manually change any setting on your computer.
Follow this short guide to acquire those privileges:
Step 1. Click the Start button
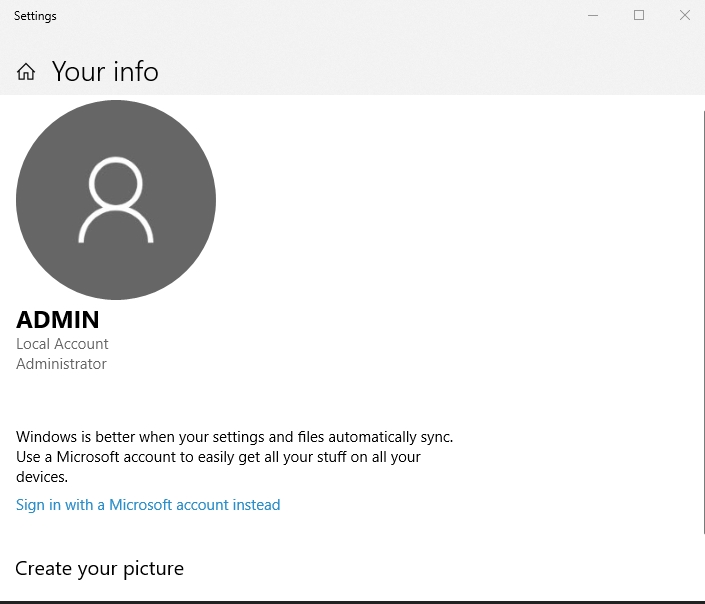
Step 2. In the Start Menu, right-click the name or icon of your current account
Step 3. Select Change account settings
Step 4. Under the name of the account, you will see the word “Administrator”, which means you are now using the Admin privileges
Once you’ve entered the Admin privileges, you now have the ability to change the settings, so follow these steps:
Step 1. Find out where the Windows UWP game is stored on your computer. Use this path (customize it on your computer):
C:\Users\<USERNAME>\AppData\Local\Packages
If you are unsure where this pathway has to go, execute the following sequence:
- Use the Windows key and R to open the Run window
- Type in %appdata% and hit Enter
- Open the AppData folder and go one step back to the Local folder
- Enter Packages
Step 5 for this sequence and Step 2 for the previous one are the same: look for the game package, it should have the name of the game somehow hidden in it.
Step 2. Next, access this pathway: C:\Program Files\WindowsApps OR <DISK>:\WindowsApps . Remember to customize it to your computer, where <DISK> is the drive where you keep your apps and games.
Step 3. When you have accessed the folder, you need to find the folder that you have determined to hold the UWP Game information (from Step 1.)
Step 4. In the same folder, look for it in AppxManifest.xml and open it by right-clicking and opening in the text editor. Do not change anything in the text file.
Step 5. Find this tag in the file: “<Application Id=”
Step 6. Copy the application ID and save it in another text document.
Step 7. Create a string in the notepad with the relevant information. It should look like this template: “shell:AppsFolder\PACKAGE!APPID”, where ‘PACKAGE’ stands for the name of the file of the game itself that you have retrieved in Step 8. and APPID stands for the APP ID that you have copied from the text document.
Step 9. Now it’s time to add it to Steam. What you have to do here is a life hack on Steam itself. You have to add an exe program to the game library.
Step 10. When this EXE file is on the list, right-click the name and select Properties.
Step 11. Manually remove everything from the “Start in” section and overwrite it with the string that you have created for your game.
Step 12. At this point, you can also rename the name of the EXE file to the name of the Game.
After executing all of the steps described above, you will be able to launch your game from Steam directly. Remember that for various games, you will need to repeat the process.