“Don’t wish it were easier. Wish you were better.”
― Jim Rohn
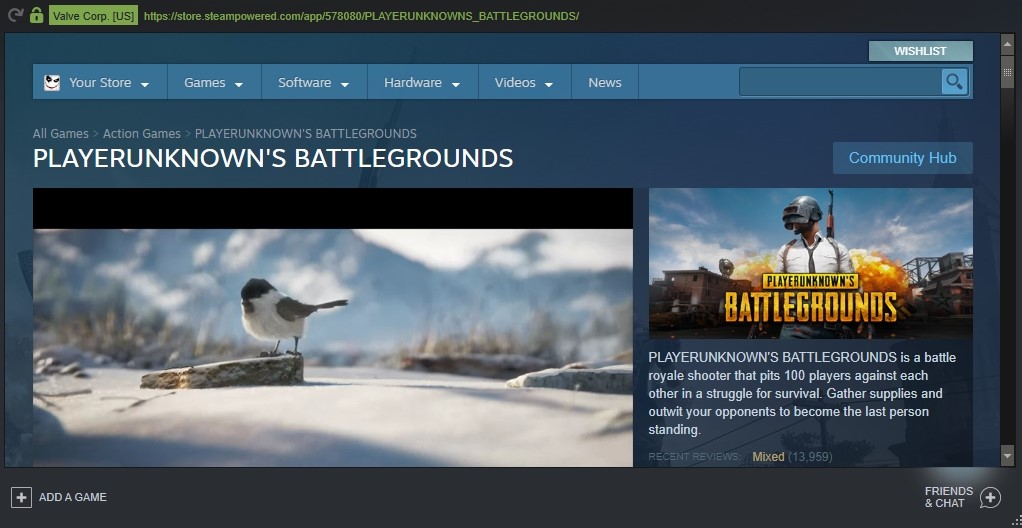
So, unless you’ve been living under a rock the last year, chances are you’ve probably heard of PlayerUnknown’s Battlegrounds or what the cool kids have been calling PUBG for short. It’s been labeled as a meme game or twitch bait, but it is a Last Man Standing Battle Royale non-stop shooting game where the player fights for survival against ninety or more other people on a huge 8×8-kilometer square island. Developed by Bluehole Inc, it’s been around for a while now, and it’s a game people found themselves coming back to over and over throughout the year. Many gamers have said that initially it was out of curiosity to find out what makes this game so popular, and now they have become addicted to it. This is because new features are added constantly, and the determination to be the best drives them to play the game.
Pro Tip: It is possible to fix many PC issues by using the PC Repair tool. PC Repair is easy to use and reliable Windows optimization software developed to fix hundreds of system issues.
Special offer. About Outbyte, uninstall instructions, EULA, Privacy Policy.
So, here’s the whole thing in a nutshell – PUBG is a first or a third-person shooter where every match you jump out of a plane that always changes its trajectory. You choose an area to land on the island, and then you run around looking for weapons and supplies, killing anyone you see along the way as a giant circle slowly closes in on the map. This circle then forces the players to a fixed point for the inevitable last stand. Now, a couple of key things that make it stand out is: like a lot of these Battle Royale star modes, your success is highly dependent on the kind of gear you can get your hands on. The very placement of weapons in gear is entirely randomized. Therefore, sometimes you’ll find an assault rifle and body armor in the first building you come across, and then other times you’ll search an entire block of apartments and find nothing but a measly pistol. The gear is kind of important too because if you end up stuck in the middle of a field taking on a player who’s got a sniper rifle with an 8x scope, well, you’re going to lose nine times out of ten. All weapons have their unique statistics in terms of damage, bullet speed, and reload times. Then, you’ve got to consider things like bullet drop over long distances, not to mention there’s a whole heap of attachments which affect all of this even more. Although PUBG can be played from a first-person perspective, it requires being played in third-person made so you can use the camera to your advantage and not limit your field of view.
Even with all the exciting features and hours of fun, many gamers have reported that they encountered the Network Lag detected error.
In this article, we are going to show you how to fix the network lag detected error on Windows 10. Make sure you go through all the solutions until you find the one that works for you.
Table of Contents
- Make sure your internet connection is working
- Let PUBG through your Firewall and antivirus
- Turn off background apps
- Update your device drivers
- Check integrity of game files
- Reduce the monitor refresh rate
- Make sure the game is up to date
- Reinstall the game
Solution 1. Make sure your internet connection is working
The Network lag detected error has caused some controversies in the PUBG community. While others think that the error is individual and depends on your settings, others also say that this error is due to a problem in the servers. The truth is, it could be either of them. So, we suggest that you check your internet connection to make sure the error is not on your end. Here are some steps to carry out to make sure your connection is intact:
- The number one rule in online gaming is to always use a wired connection. This is because wireless connections are usually unstable and spikes occur often, but that is not the case with wired connections.
- Restart your router: you should have noticed that any time you call technical support about a problem with your device, the first solution they always give you is to restart it. This is because restarting the router refreshes the device. Since the router is running non-stop, it can slow down if you do not give it a break. Restarting the router clears its memory and resets its tasks. One of the most important jobs of the router is handing out unique IP addresses for each device that connects to it. If you have lots of devices requesting addresses or devices that frequently come on and off, your router sometimes can’t keep up. The router can also sometimes lose the internet connection to your Internet Service Provider, and in this case, restarting is the easiest option to reconnect.
- Flush your DNS:
- Press the Window logo key + R on your keyboard to open the Run dialog box.
- Input ipconfig /flushdns in the search area and press Enter. This will flush your DNS.
- Restart the Steam client.
- Call your Internet Service Provider to make sure that the problem is not coming from their end.
- Check the state of the game’s server. This may be a general issue, and others are encountering the same network lag. In this case, you need to wait for the server to get fixed.
- Use different servers to check your PING.
- Update the firmware of your router.
- Go to your modem settings and enable the Quality of Service mode for gaming.
- Go to the modem settings and set PUBG as a high-priority app.
- If you have no option but to use Wi-Fi, then disable IPv4 and use the 5 GHz wireless frequency.
Solution 2. Let PUBG through your Firewall and antivirus
Your antivirus and firewall are designed to keep malware and hackers out of your system. So, if they recognize PUBG as a potential threat to your system, they will block its actions. This can eventually result in the Network lag. In this case, you need to let PUBG through your firewall and antivirus. Here is how to let apps through your firewall:
- Click on the Start or Home button and input firewall in the search box. Now, choose Allow an app through Windows Firewall.
- In the next window, click Change settings.
- Look for PUBG in the list and check the Private and Public boxes.
- Click Apply and OK to confirm the changes.
You can also add PUBG to the exclusion list of Windows 10 Defender:
- On the taskbar, click on the Windows Defender icon to open it.
- Now, click the Virus and threat protection icon, then click the Virus and threat protection settings link.
- In the next page, go to Exclusions and click Add or remove exclusions
- Click on the Add an exclusion button, then select Folder from the drop-down menu.
- Select the PUBG folder from Program Files.
Solution 3. Turn off background apps
Third-party background apps can also be the cause of this error. These apps usually run in the background, and you do not notice, but they are draining much of your system’s resources. Activities such as downloading torrents can also greatly influence your connection. Programs such as VOIP and chat apps, clients for torrents or streaming services should be avoided at all cost when running PUBG.
VPNs have been noted to decrease your connection speed significantly. Even though they are sometimes useful to break through geo-restrictions, they should be used only when needed because it will cause much lag in your game and connection speed. Also, the type of a VPN matters because a good one will decrease the lag and will not interfere much with your internet connection.
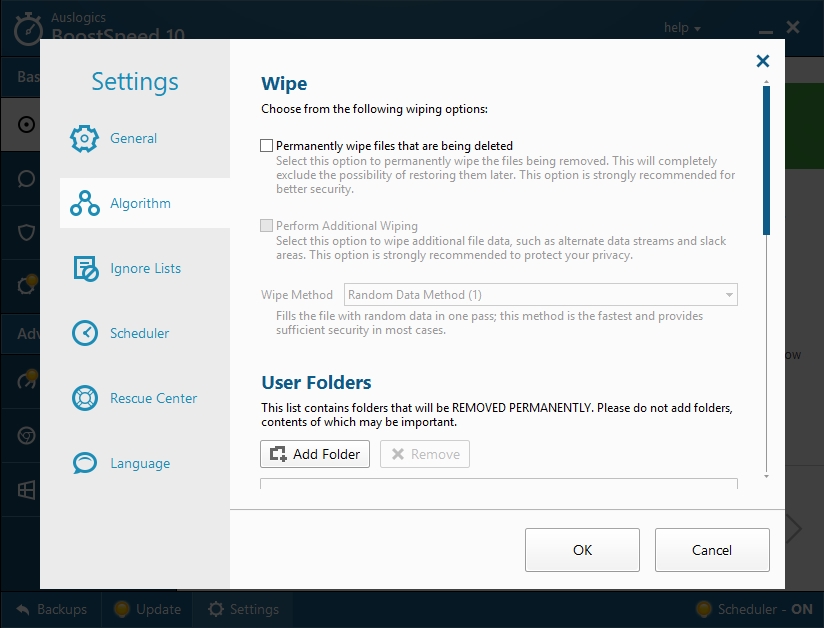
You can automatically disable background apps by using Auslogics BoostSpeed. This is a very easy way to disable background apps if you are not familiar with the process. It will disable all the unnecessary background apps that are using up your system’s resources.
Solution 4. Update your device drivers
Device drivers are important components of your operating system. This is because without them, you are going to encounter lots of errors, and system devices will not function properly. Drivers mediate the communication between the devices and the operating system. Your internet connection and game performance will be heavily affected if you have missing or outdated drivers. We are going to show you how to update your drivers:
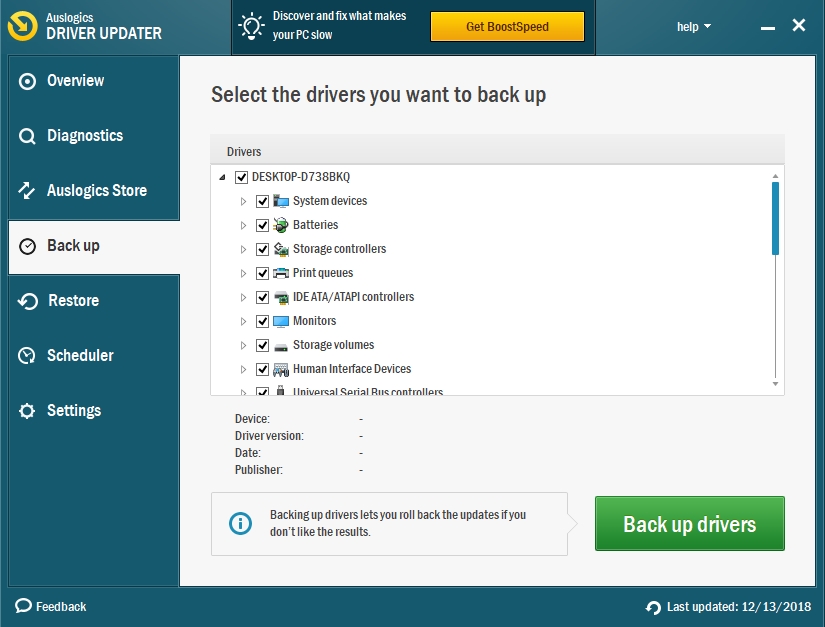
Method 1. Download and install Auslogics Driver Updater
This tool gives users the possibility to update all their drivers in just one click. It is easy to use and will save you lots of time. It functions by scanning your computer for missing or outdated drivers and updating them to the manufacturer-recommended versions. Installing the wrong driver will not be an issue when using this tool.
Method 2. Download your drivers from the manufacturer’s site
The manufacturer’s site is a reliable source from where to get your drivers. The drivers are usually found in the support section of the site. The downside to this method is that it is time-consuming, and you need to know detailed information about the device whose driver you want to update. Downloading and installing the wrong driver can cause further harm to your system. That is why manufacturers have created clients that act as a guide and notify the users about outdated drivers and from where to download the updated versions.
Method 3. Use the Device Manager to update your drivers
Windows has a built-in tool which manages all the devices connected to your computer. This tool is called the Device Manager. You can update your drivers from here using the following steps:
- Right-click on the Start or Home button and select Device Manager.
- Right-click on the device whose drive you want to update and select Update driver.
- When the next window opens, select the option to download and install the necessary driver from the internet.
- The best driver for your device will be downloaded and installed.
Solution 5. Check integrity of game files
Checking the integrity of the game files is an important step in fixing the Network Lag error. Sometimes, game files get corrupted and cannot function properly. This process compares your game installation files with the original files. If there are any changes or errors, it will remove the bad files and replace them with good ones. Here is how to check the integrity of game files:
- Run the Steam client and go to the Library.
- Right-click on PUBG and select Properties.
- Now, navigate to the Local files tab and select Verify integrity of game files.
- Wait for the process to complete, now check if the network issue has been fixed.
Solution 6. Reduce the monitor refresh rate
Some users have confirmed that they solved the network lag issue by changing the monitor’s refresh rate from 144 Hz to 60 Hz. Even though this change will affect your in-game experience, it is a price you have to pay for fixing the error. Here is how to change your monitor refresh rate:
- Right-click on the desktop and select Display settings from the drop-down menu.
- Scroll to the bottom and select Display adapter properties.
- Navigate to the Monitor tab and change the refresh rate from 144 Hz to 60 Hz.
- Click Apply and OK to save the changes.
Solution 7. Make sure that the game is up to date
PUBG is constantly updated with the new features which are added. So, it is important to always keep your game up to date because some of the updates may contain fixes to the network error. Also, updates are released to fix common bugs and errors reported by users. You could save yourself lots of trouble just downloading your updates. Usually, the game automatically updates, but sometimes the updates may delay. To update your game manually, open Steam and navigate to Settings > Downloads, then clear the cache. Once this is done, you will be able to get the latest updates for PUBG.
Solution 8. Reinstall the game
If all the solutions above have not worked, then we suggest that you reinstall the game. This should be able to fix any issues. Make sure to back up all your save games before uninstalling. You can also try reporting the issue to the developers.
We hope that this article has helped you get rid of the network lag detected PUBG error. Share it with others who need such information.
We appreciate your ideas and comments, and we are ready to answer all your questions regarding the above topic.